
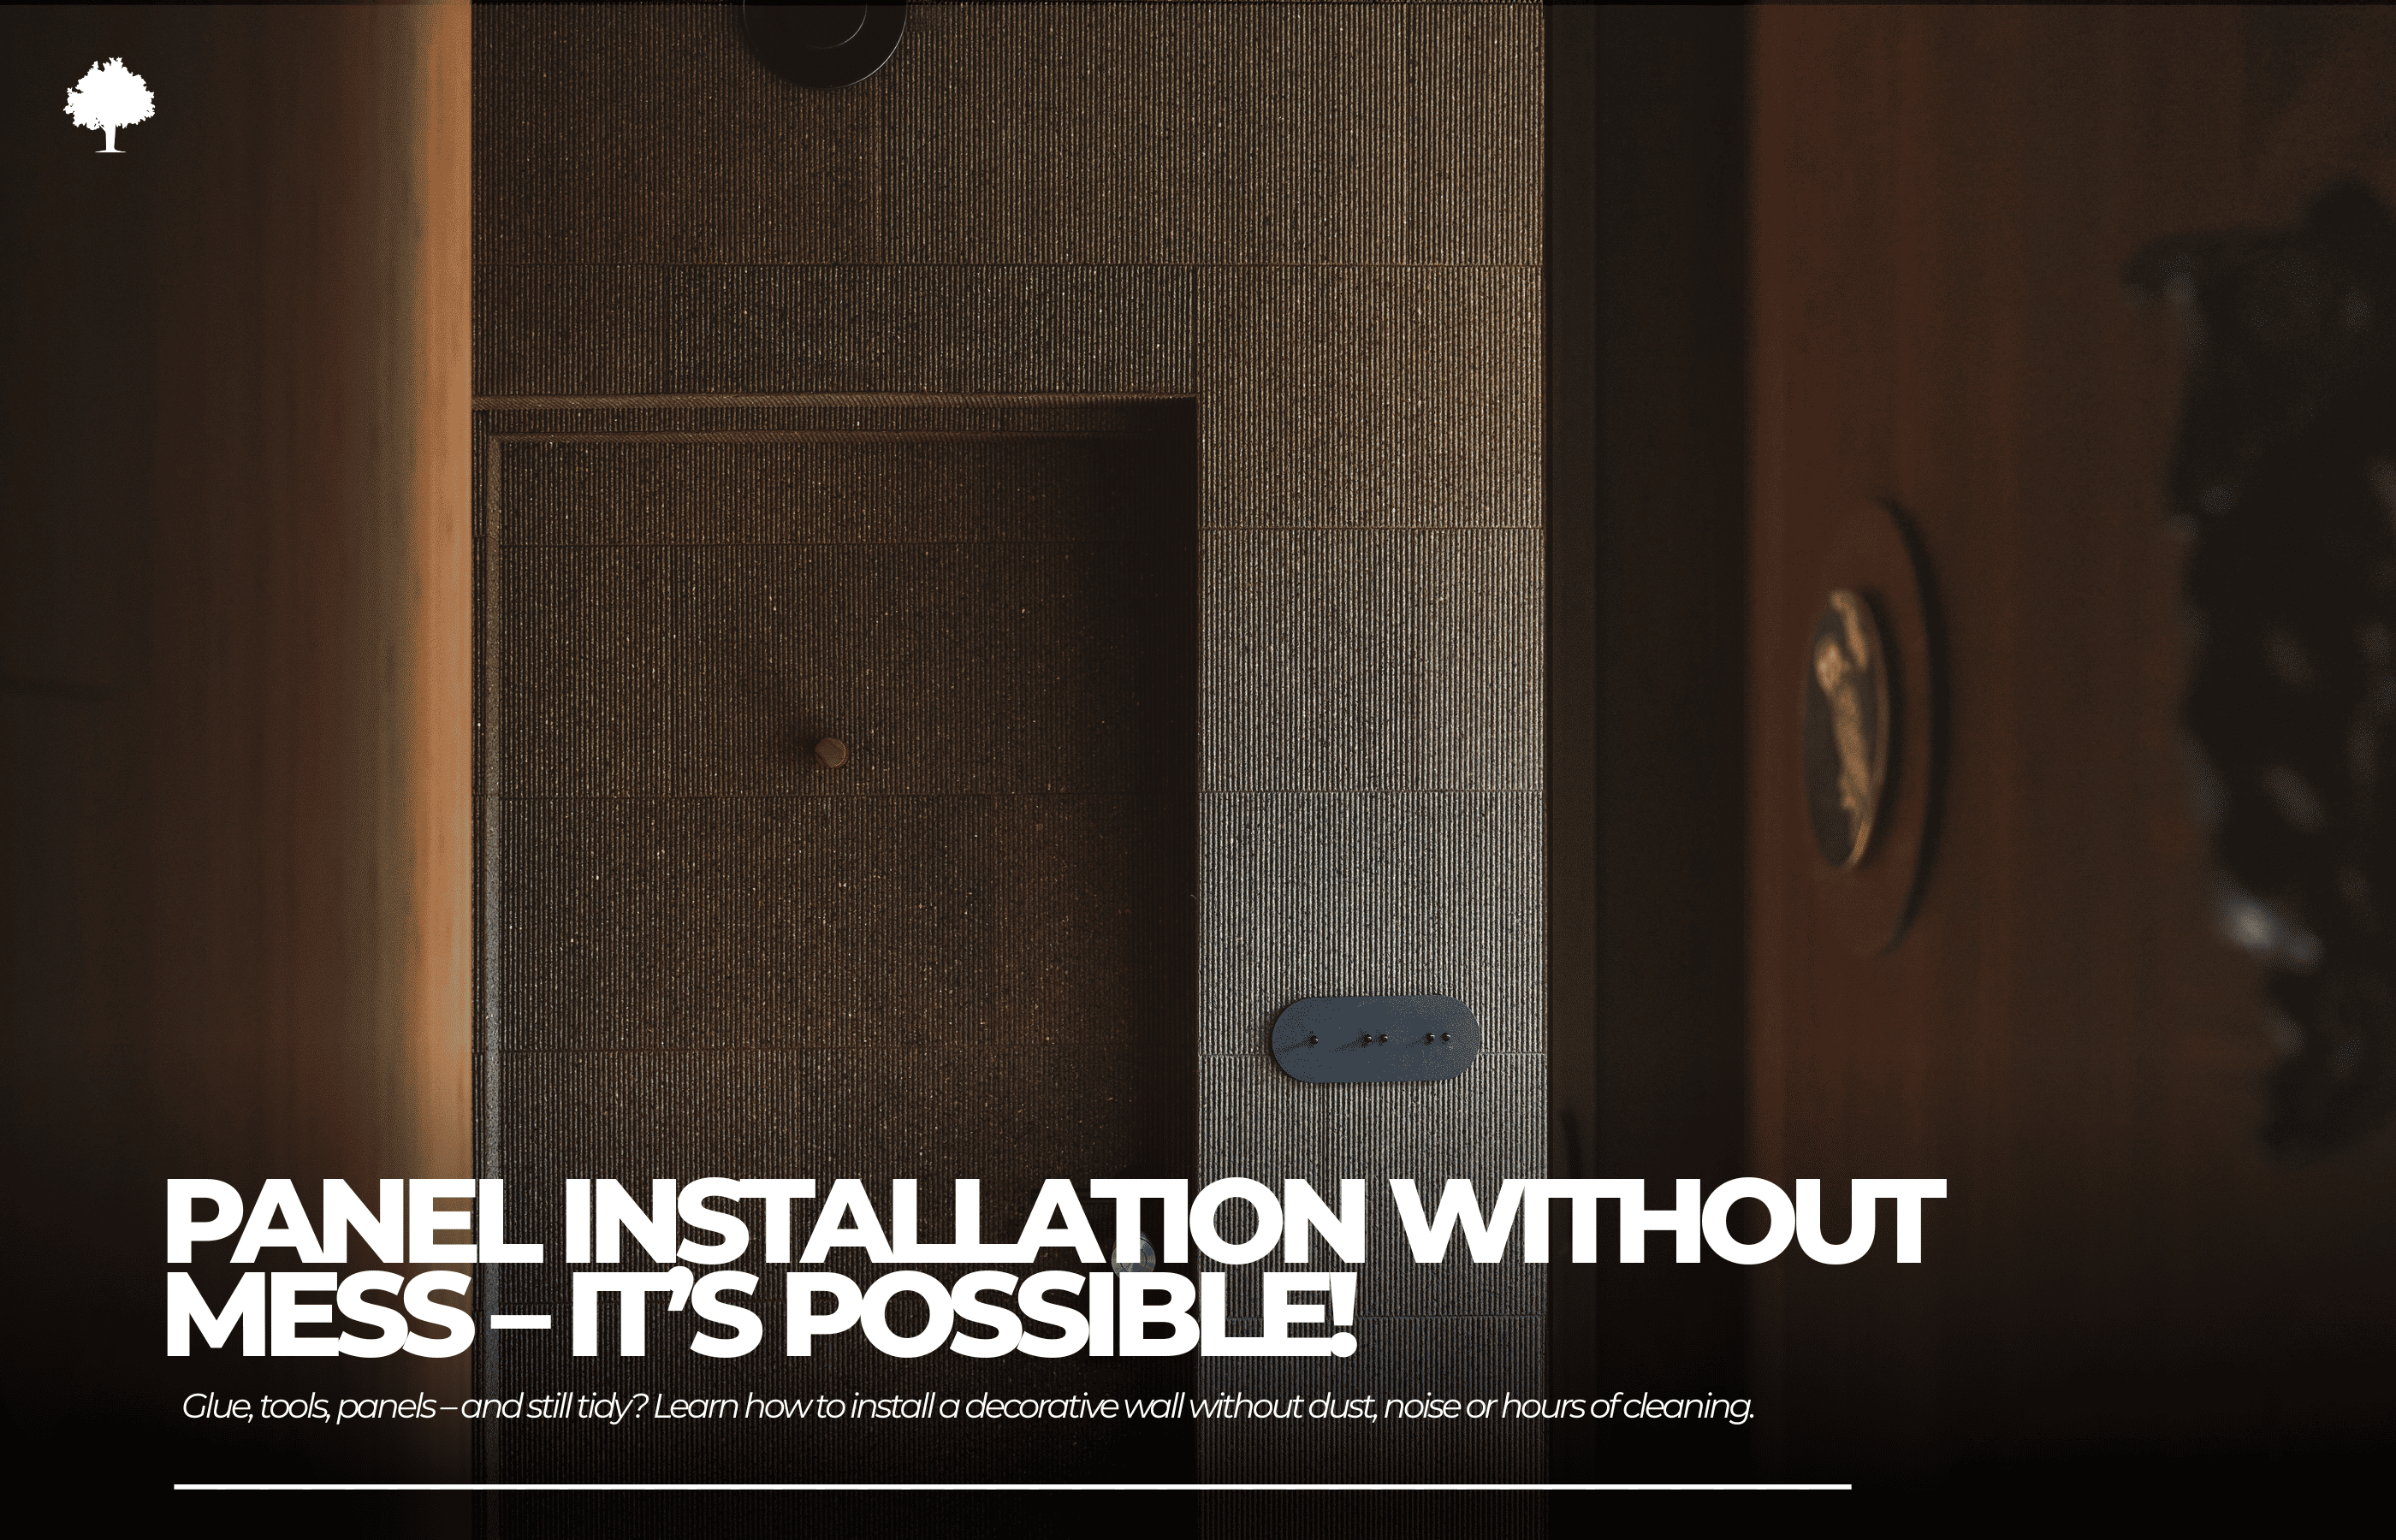
.png)

Installing wall cladding can be a deeply satisfying task—or a source of real frustration. The initial excitement of refreshing a space often fades once the work area starts to resemble a glue-covered battlefield: sticky drops on the floor, adhesive sliding down the wall, and smudges everywhere. Beyond looking messy, this also increases the risk of damaging the materials and slows down the entire project.
Here, we’ll walk you through how to achieve a clean and controlled wall installation—a method that not only ensures an aesthetically pleasing finish but also helps keep your workspace tidy from beginning to end.
Table of Contents
1. Introduction
2. What tends to go wrong when installing wall cladding?
3. Cleaner alternatives: what can you use instead of standard glue?
4. Summary
5. FAQ
What tends to go wrong when installing wall cladding?
At first, the process seems straightforward: prepare the wall, apply the adhesive, position the panel, make a few cuts—and you’re done. In reality, even experienced DIYers often run into issues that lead not only to visual imperfections but also to wasted materials and the need to redo entire sections. Knowing the most common pitfalls is the first step toward avoiding chaos and achieving the result you envisioned.
Problematic adhesives — why does glue cause so much chaos?
The main source of trouble is usually the adhesive itself—a product designed to bond materials, yet just as often responsible for the biggest mess. What typically goes wrong?
-
Overly runny consistency causes the adhesive to drip during application and slide down the wall, leaving stubborn streaks on nearby surfaces.
-
Slow curing time means the panel doesn’t grip the surface quickly, forcing you to reposition and press repeatedly—each attempt creating new chances for smudges and spills.
-
Excessive tack—while useful—becomes problematic when the glue clings to hands and tools, forming strings and sticky patches that often require special cleaners to remove.
-
Some adhesives can cause permanent staining on porous surfaces such as gypsum plaster, making them unsuitable for decorative applications.
The most common mistakes — what should you avoid?
-
Applying too much adhesive
Many people assume that using more glue will result in a stronger bond. In reality, excess adhesive oozes out from beneath the cladding, leaving marks that are difficult to remove. With delicate materials, such as veneer or decorative boards, this can even lead to permanent damage. -
Skipping proper surface preparation
Adhesive alone cannot compensate for dust, loose plaster, or dirt on the wall. These weaken the bond and lead to the false impression that “the glue doesn’t work,” when the real issue is the substrate. -
Not doing a dry fit
Skipping a test fit leads to rushed adjustments once the adhesive is applied. Each extra movement increases the chance of smudges, misalignment, or accidental damage. -
Using unsuitable tools
Working with tools that aren’t designed for this kind of job often results in crooked installation and unnecessary material waste.
Clean alternatives: what can you use instead of traditional glue?
If you want to avoid the mess while still achieving a high-quality finish, the market now offers a wide range of solutions that eliminate the need for classic mounting adhesives. These options are especially popular among DIY enthusiasts who value quick, precise installation without having to deal with sticky residue afterwards.
Spray adhesive
Spray adhesives are increasingly favoured by those who appreciate controlled application and uniform coverage. The fine spray makes it easy to control the amount used and helps prevent unattractive drips.
Double-sided mounting tapes
A great option for anyone wanting to avoid direct contact with glue. Professional high-bond tapes provide strong adhesion and allow for a clean, tidy installation.
Self-adhesive panels
The most convenient choice—especially for those who prioritise speed and perfect cleanliness—is panels with a factory-applied adhesive layer. Installation is as simple as removing the protective film and pressing the panel onto the wall.
A good example? Self-adhesive natural cork. These panels offer convenience, aesthetics, and cleanliness in one—an ideal solution for DIY renovators who care about precision and a spotless finish.
Summary
A clean installation approach isn’t just about keeping things neat—it reflects a mindset where precision meets practicality and smart solutions enhance comfort. Avoiding glue-related chaos is no longer a privilege reserved for professionals; with the right tools and techniques, anyone can achieve a flawless result without the mess or frustration.
Whether you opt for modern spray adhesives, mounting tapes, or ready-to-use self-adhesive panels, success depends on understanding your options and knowing their limitations. Today, it’s technical insight—not just budget or trends—that determines the quality of your interior finish.
FAQ
1. Are spray adhesives really durable?
Yes—provided the product is suited to the specific material and substrate. Professional contact spray adhesives offer strong, lasting adhesion for lightweight and medium-weight claddings. Always check the technical data sheet.
2. Can double-sided tape hold panels long-term?
High-quality tapes—such as acrylic or high-bond foam types—can maintain strong adhesion for years. Proper surface preparation is essential: the wall must be dry, clean, and degreased.
3. Which panels come in a self-adhesive version?
A growing number of manufacturers offer self-adhesive options made from natural cork, acoustic foam, plastics, and even upholstery fabrics. What matters most is low weight and a smooth, even backing surface.


