
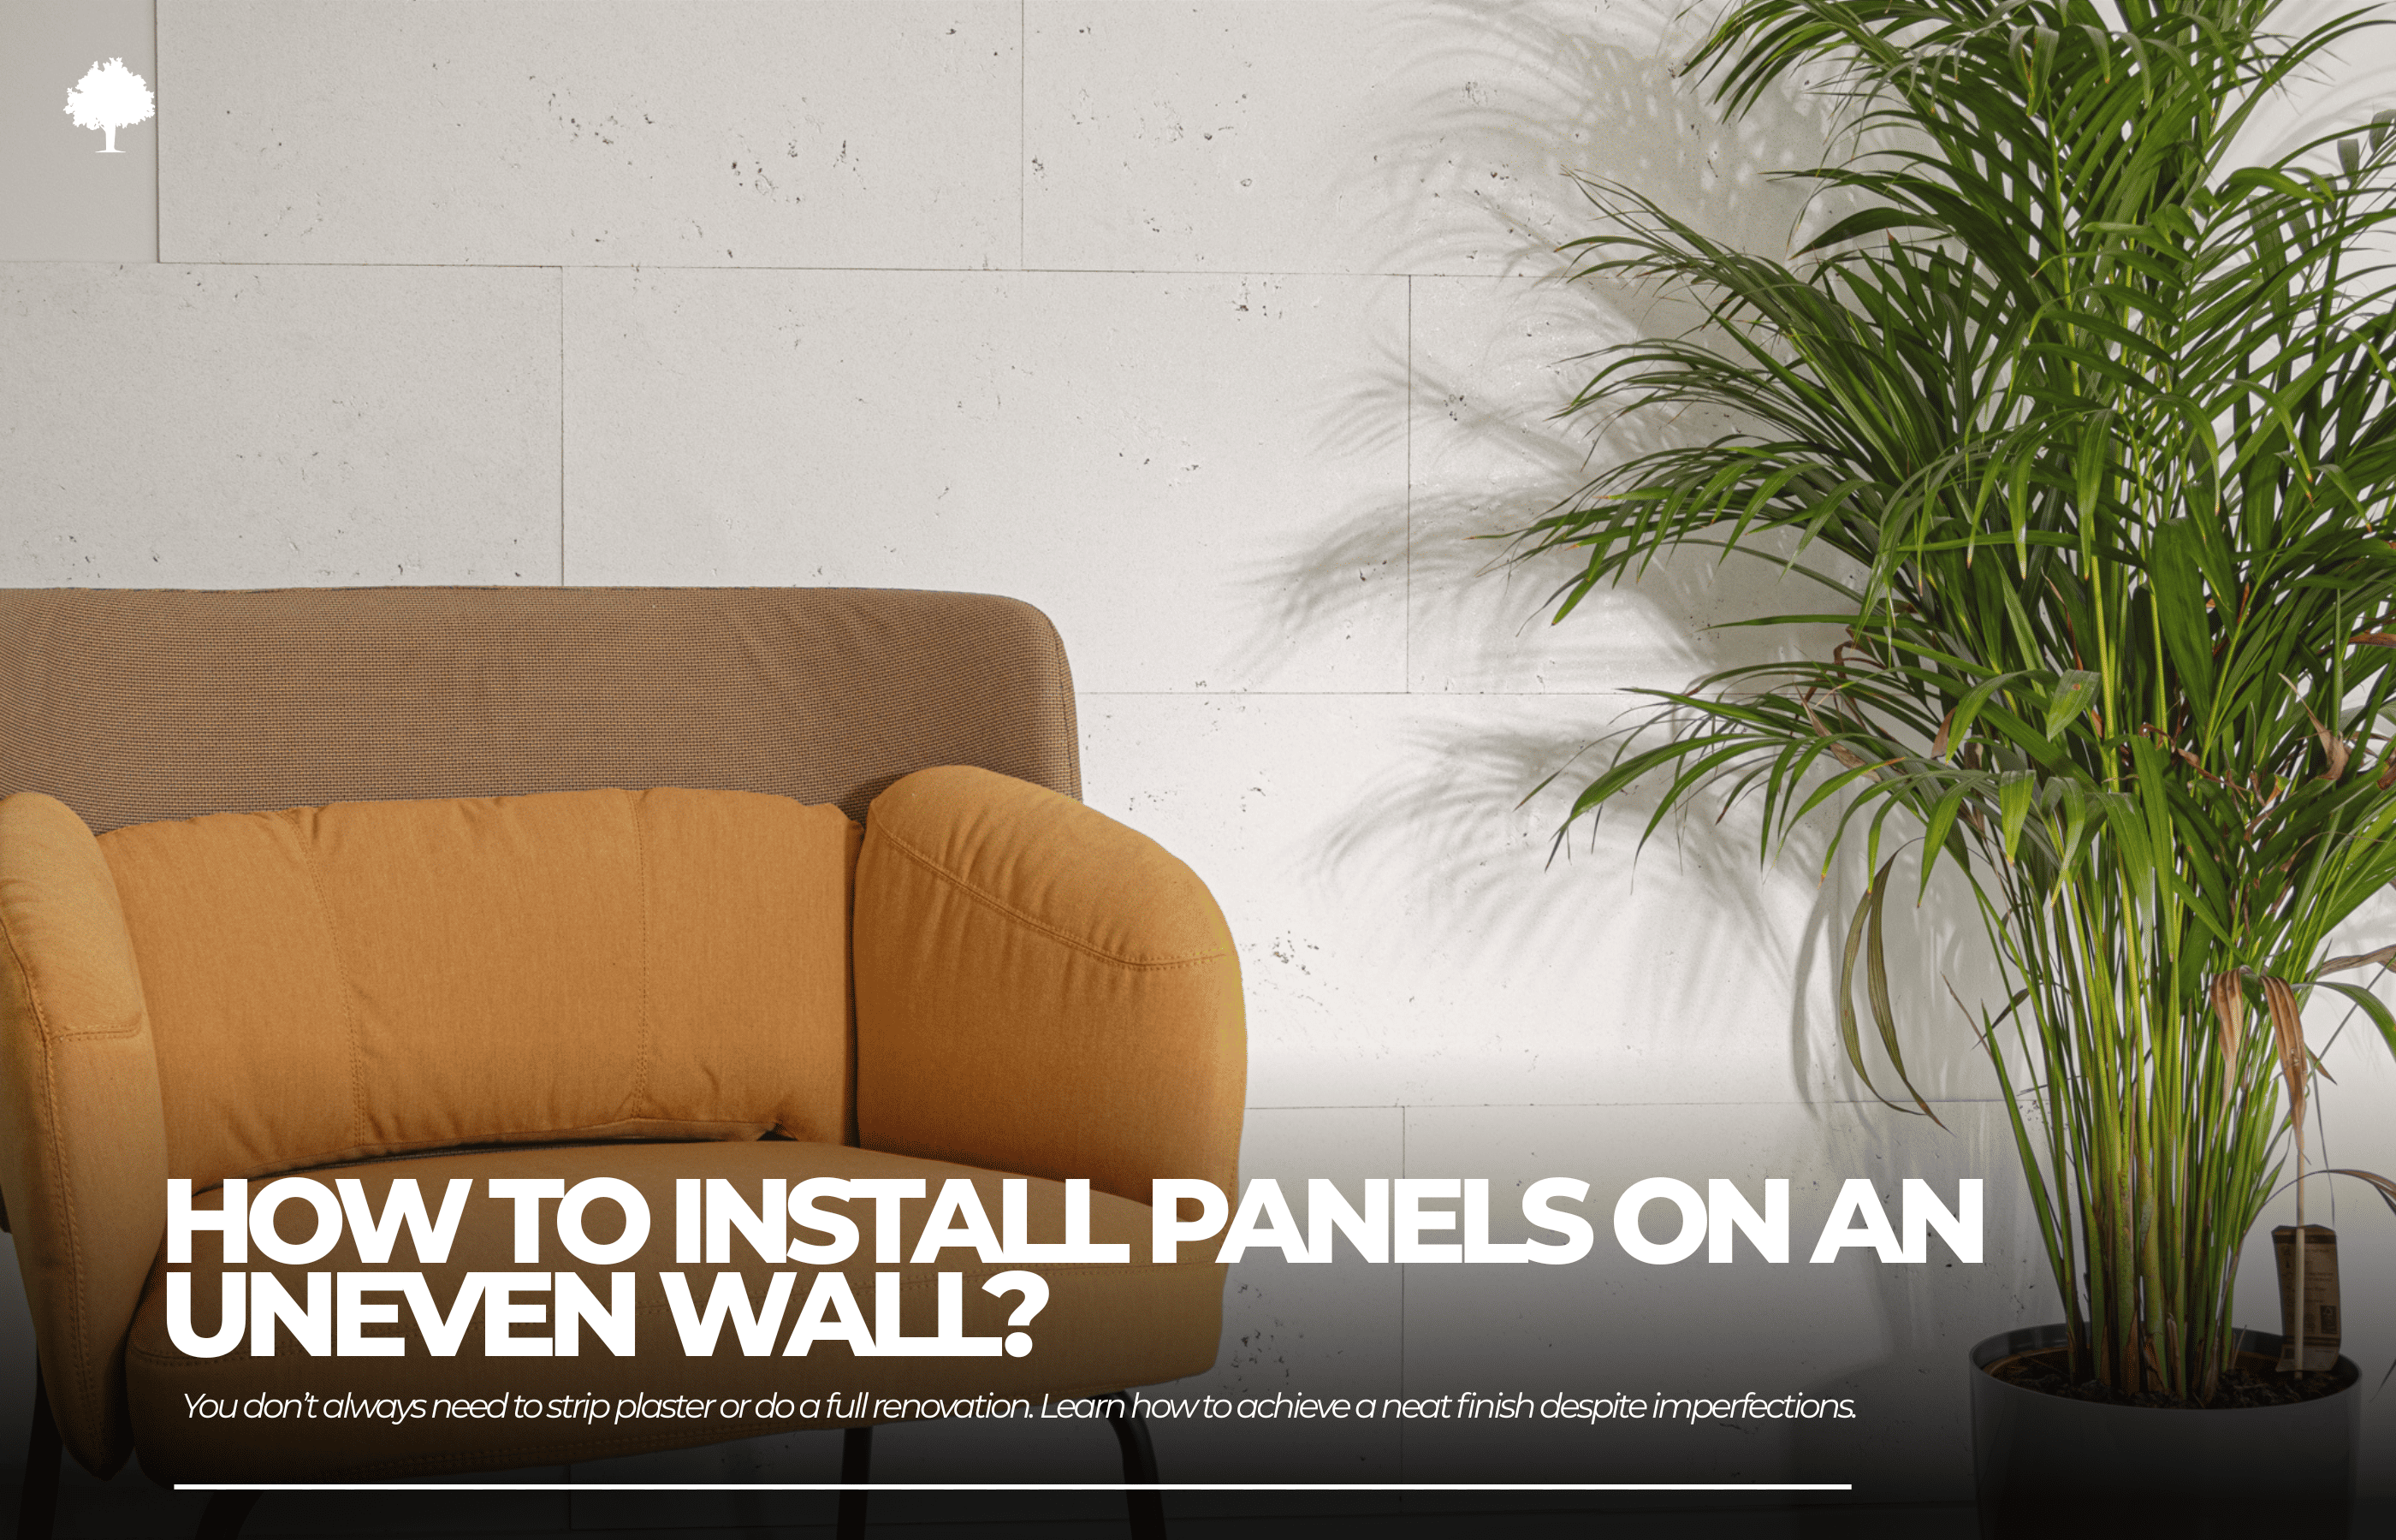
.png)

Decorative panels have remained popular for years — they offer an easy way to refresh an interior, add personality, and sometimes even create that striking “wow” factor. It’s no surprise that more and more people choose them during renovations or when furnishing their homes. But the excitement of picking out the perfect panels often meets a harsh reality: not every wall is a suitable base for this kind of decoration.
Irregular curves, uneven spots or gentle waves that aren’t noticeable at first — all of these can affect installation. That’s why it’s worth considering, before you start, whether the wall you’re dealing with is truly fit for the job. Can the imperfections be hidden, or will they need to be corrected beforehand?
Table of Contents
1. Introduction
2. The dream of a flawless wall vs. the realities of renovation
3. Can panels be installed on an uneven wall?
4. How to tell when a wall “isn’t suitable”?
5. How to prepare an uneven wall for panel installation?
6. Summary
7. FAQ
The dream of a flawless wall vs. the realities of renovation
We often imagine the process as something very straightforward: we pick out attractive panels, arrange installation or choose to glue them ourselves, and after a short while we enjoy a stunning result. In theory — simple enough. In practice, however, what looks like a perfect decorative surface in a manufacturer’s photo can look very different if the wall isn’t properly prepared or the installation isn’t done precisely.
One of the most common mistakes is overlooking the condition of the substrate. Just a few millimetres of unevenness, traces of old paint, or small cracks can completely undermine the final effect. Panels may deform, lift away from the wall or — even worse — develop visible gaps at the edges. In such conditions, even the most premium, beautifully designed panels won’t deliver the expected result.
On top of that, many people try to “fix the problem” during installation by applying too much adhesive or forcing the panels into position. Unfortunately, this only leads to more trouble later: detaching panels, damage to the material, or uneven adhesion. The “it will probably be fine” approach almost always ends with frustration and the need for costly repairs.
Can panels be installed on an uneven wall?
A common question is whether decorative panels can still be installed on an uneven wall. The answer is clear — it’s strongly discouraged. The problems start the moment you try to attach the panels. Any major irregularity becomes a point where the panel won’t adhere properly. The result? Bulges, lifted edges and unattractive gaps that ruin the entire look.
Remember that decorative panels — especially thin and lightweight options such as MDF, veneer or plastic — don’t have the rigidity needed to “hide” imperfections. In fact, they accentuate them. Every small uneven spot shows through immediately. Instead of a smooth, refined wall, you end up with a rippled surface that looks messy rather than stylish.
How to recognise that a wall is “not suitable”?
Simple at-home checks: spirit level, long straightedge, mason’s line
Before you begin installing decorative panels, it’s worth making sure your wall is actually suitable. You don’t need professional tools — just a few basic checks can give you a reliable assessment.
Start with a spirit level. A longer one (at least 100 cm) helps detect both horizontal and vertical deviations across larger sections. An even more reliable option is a long, straight batten or an aluminium plastering rule. By placing it against different parts of the wall, you can quickly see where gaps appear between the tool and the surface — a clear sign that the wall isn’t even.
Another useful technique is stretching a mason’s line between two distant points of the wall (for example, from floor to ceiling or corner to corner). If the wall “falls away” at any point, you’ll notice it immediately. Even slight deviations, which seem minor at first, become major obstacles once panels are applied.
Deviations that make direct installation impossible
If the unevenness of the wall exceeds 2–3 mm per metre, levelling is necessary. And for larger, more rigid panels, even smaller irregularities can pose a challenge.
When “looks fine” isn’t enough
Many people rely solely on what they can see — if the wall appears straight, they assume it’s ready for installation. Unfortunately, appearances can be misleading, and small imperfections often become visible only once the panels are in place. That’s why it’s always worth performing the checks mentioned earlier. A few minutes of inspection can prevent unnecessary expenses and frustration later on.
How to prepare an uneven wall for panel installation?
To ensure decorative panels look as intended, the wall must be properly prepared. Depending on how uneven the surface is and its overall condition, several proven methods can help you achieve the right result.
Filling and smoothing — the go-to method
If the wall has only minor imperfections — up to a few millimetres — the simplest and most common solution is to use filler. Applying a suitable compound or finishing plaster helps correct small bumps, cracks, and subtle surface waves. After filling, it’s important to sand the entire area thoroughly — using a sanding float with mesh and a spirit level works best — to make sure the wall is perfectly smooth and even.
Plasterboard — a fast solution for major irregularities
If the wall has significant curves or noticeable deviations from the vertical, plasterboard (drywall) is usually the better choice. Fixing boards onto a frame allows you to level the surface without time-consuming filling and constant corrections. This approach not only speeds up the process but also ensures a perfectly flat plane — ideal for installing decorative panels.
Cleaning, degreasing, and final preparations
Regardless of the levelling method, proper cleaning is essential. All dust, dirt, and remains of old paint, wallpaper, or adhesive must be removed. The surface should also be degreased — for example, with a water-and-detergent mixture — and left to dry completely. On some substrates, applying a primer can improve adhesion between the wall and the panels. Only a well-prepared surface ensures hassle-free installation and long-lasting decorative results.
Summary
Decorative panels are an excellent way to quickly refresh an interior. However, installing them on an uneven wall is a risky choice that often leads to more problems than benefits. Bulges, gaps, and lifted edges are common results of skipping the crucial step of proper surface preparation.
The foundation of a successful installation is a flat, stable, and clean wall. Take the time to check its condition thoroughly, and level it if needed. Sometimes a simple filling job is enough; other times, drywall will offer the best results. In every case, a properly prepared surface guarantees not only an attractive finish but also long-lasting durability.
FAQ
1. How can I check whether the wall is even enough for installing panels?
A spirit level, a long straight batten, or a mason’s line will give the most reliable results.
2. Can panels be installed on old paint or wallpaper?
It’s not advisable. Old paint or wallpaper may not adhere well to the wall, which can lead to panels falling off. Always remove old layers, clean the wall thoroughly, and degrease it.
3. Can panels be installed on plasterboard?
Yes. Plasterboard is an excellent base for panels as long as it is clean, primed, and securely fixed.
4. What should I do if the panels are already coming off the wall?
If the panels begin to detach, the safest solution is to remove them, level the wall correctly, and reinstall them — this ensures the issue won’t repeat.


