
.png)

The chosen installation method influences not only the appearance of the finished result but also its strength and practicality. In reality, there are several techniques available, each offering its own set of benefits.
In this guide, we will explore three of the most widely used approaches to mounting wall panels, reviewing their uses, the installation process, and practical considerations to help you select the option best suited to your requirements.
Table of Contents
1. Introduction
2. Why the installation method matters
3. Direct gluing to the wall
4. Installation on a wooden board or plywood
5. Installing panels with a self-adhesive layer
6. How to choose the right method
7. Summary
8. FAQ
Why the installation method matters
The way wall panels are fitted affects not only their look once in place but, more importantly, their durability, ability to withstand everyday wear, and performance in different conditions. The chosen technique determines whether panels will adhere firmly, stay stable for years, and avoid distortion.
Durability and stability
Selecting the right method ensures a secure connection between the panels and the surface, which is particularly important in spaces exposed to humidity, temperature changes, or heavy usage.
Appearance of the finish
Certain methods allow for a perfectly smooth finish without visible fixings, while others make it easier to conceal joints or adjust panels to uneven wall surfaces.
Compatibility with wall and panel type
The nature of the surface—concrete, brick, plasterboard, or wood—along with the panel design itself, dictates the most suitable installation technique. Choosing incorrectly can lead to detachment, warping, or an unsatisfactory visual outcome.
For this reason, it is worth considering both the specifics of the room and the properties of the panels and walls before starting, to select a method that guarantees a durable, attractive, and hassle-free finish.
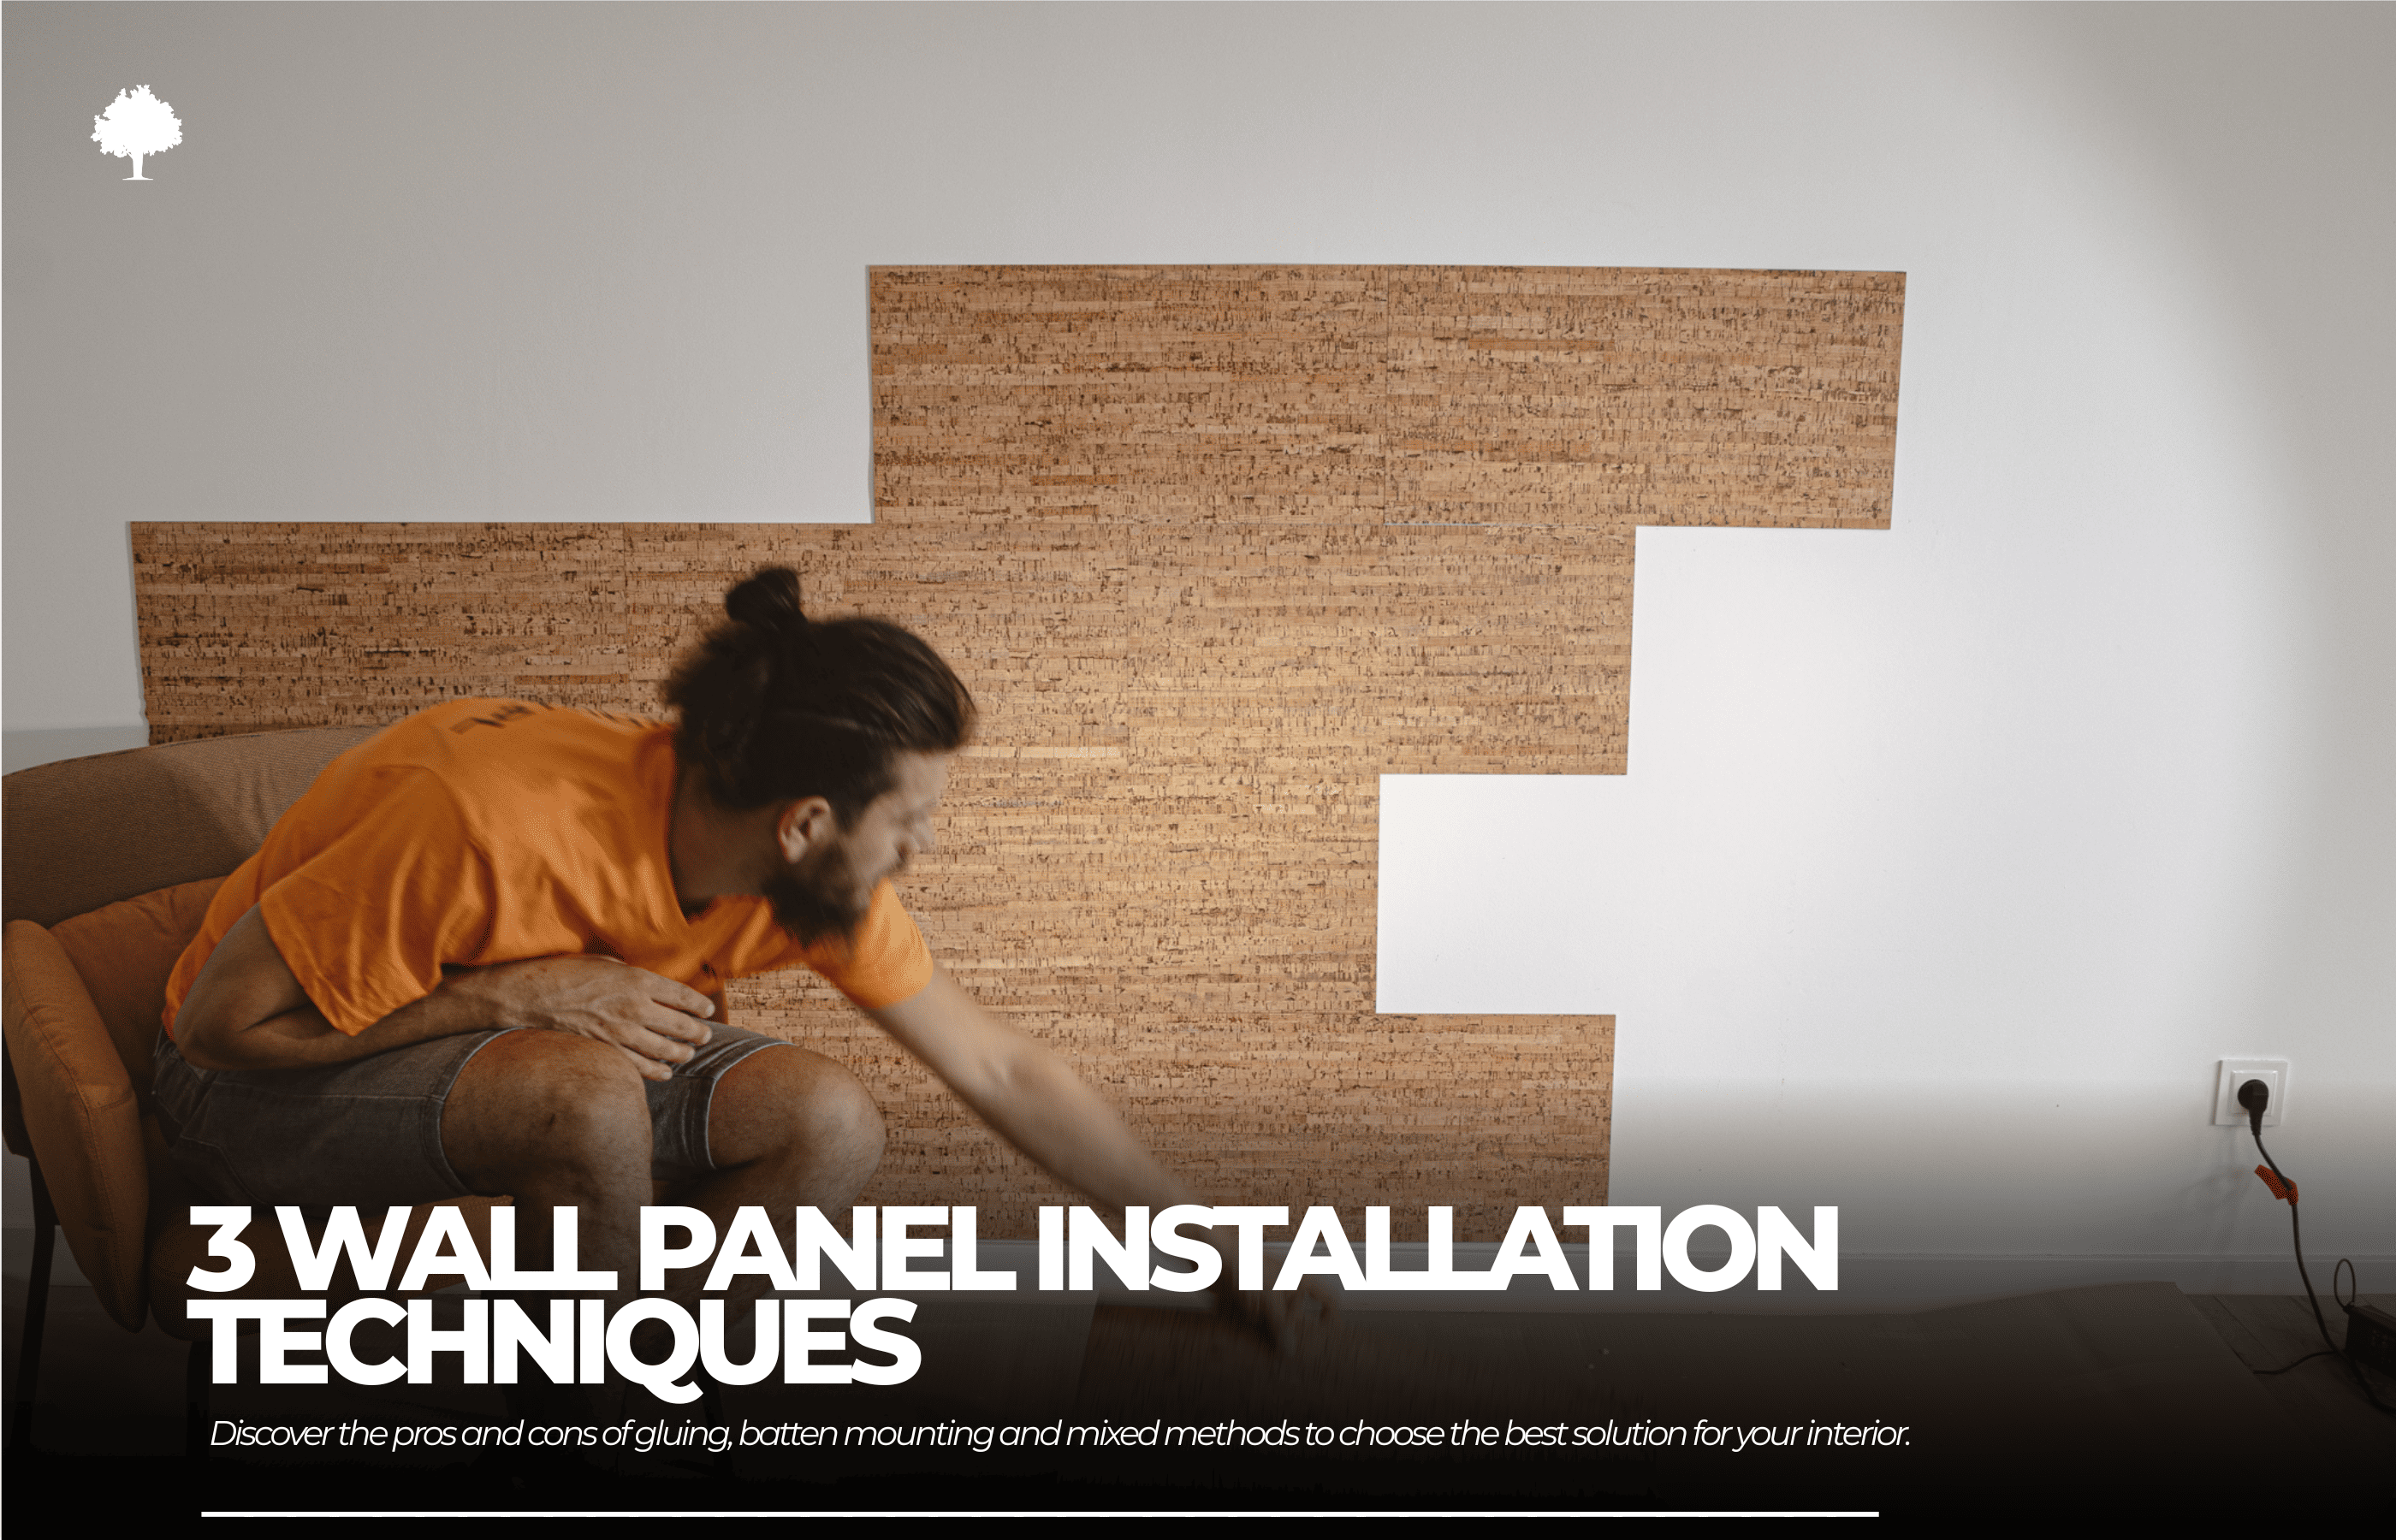
Direct gluing to the wall
Attaching wall panels directly to the wall is among the easiest and most popular techniques. It works particularly well when fast results are required and there is no need for extra supporting structures.
When this method is most effective
-
Flat, smooth walls – adhesives work best on clean, grease-free surfaces without cracks or bumps.
-
Long-term finish – ideal for rooms where design updates are not expected frequently.
-
Space efficiency – since no subframe is needed, the room keeps its original dimensions.
-
Rooms with moderate humidity – such as living rooms, bedrooms, or hallways (bathrooms require the use of moisture-resistant adhesives).
Step-by-step: from applying adhesive to securing panels
-
Preparing the wall – the surface must be clean, dry, and free of grease; fill any gaps and level the surface if necessary.
-
Selecting adhesive – use construction or panel-specific adhesives chosen according to the material type.
-
Applying adhesive – spread evenly to ensure consistent bonding.
-
Fitting the panel – position the panel on the wall, press gently, and adjust if required before the adhesive sets.
-
Pressing and securing – hold or support the panel until the adhesive has begun to set (typically a few minutes).
Strengths and drawbacks of this method
Advantages:
-
Fast and fairly straightforward installation without the need for specialist equipment.
-
No structural framework is required, meaning the usable floor space of the room is maintained.
-
Clean, aesthetic finish without visible fasteners.
Limitations:
-
Creates a permanent bond – removing panels usually damages either the panels themselves or the wall.
-
Requires a flat wall – uneven surfaces may lead to unsatisfactory results.
-
Moisture resistance is limited unless specialized adhesives are applied.
Mounting on a wooden board or plywood
Fixing panels onto a wooden or plywood base board is a method used when stability, wall leveling, and reliable support for heavier finishing materials are essential.
Benefits of using a substructure
-
Hiding wall imperfections – the base board eliminates unevenness and gaps, providing a flat and stable backing surface.
-
Improved stability – particularly valuable when working with heavy, upholstered, or oversized panels.
-
Simpler panel replacement – if one panel is damaged, it can be removed without disturbing the rest of the wall structure.
-
Extra insulation option – a thermal or acoustic layer can be fitted between the wall and the board.
Steps for preparing and fixing the base board
-
Measuring and cutting – boards are trimmed to fit snugly across the whole area designated for panels.
-
Preparing the wall – the wall must be clean and dry; in cases of major irregularities, leveling battens are added to create an even base.
-
Securing the board – the base boards are attached either mechanically (with plugs and screws) or, for smaller sections, with an appropriate construction adhesive.
-
Checking firmness – ensure the board is stable and secure across the entire surface before installing panels.
Fixing panels to the secondary surface
-
Adhesive method – panels may be glued onto the board in much the same way as they would be attached directly to a wall.
Pros and cons
Advantages:
-
Excellent structural stability.
-
Ability to correct wall unevenness and incorporate additional insulation layers.
Disadvantages:
-
Takes up more room – the board adds thickness to the wall.
-
More labor-intensive and costly than direct gluing.
-
Demands accurate installation to avoid vertical or horizontal misalignment.
Installing panels with a self-adhesive layer
Panels pre-coated with adhesive are designed to cut down installation time and simplify the process. With the use of special adhesive tapes or coatings, installation only requires peeling off the protective film and pressing the panel directly onto the prepared surface.
How self-adhesive panels function
The adhesive layer is applied in controlled industrial settings, ensuring even coverage and strong adhesion. Depending on the manufacturer, acrylic, rubber-based, or hybrid adhesives are used, offering strong bonding power and resistance to aging. Often, pressure activation enhances the adhesive’s grip, improving the durability of the attachment.
Preparing the wall for self-adhesive panels
-
Cleaning – the surface must be dry, free of dust, and grease-free.
-
Smoothing – fill or sand down any gaps or roughness, as they can weaken the adhesive bond.
-
Temperature control – the installation should be carried out at room temperature (around 18–25°C) for optimal adhesion.
Fast installation guide
-
Measure and map out panel placement – this is especially important when dealing with patterns or aligned joints.
-
Peel back a section of the protective film – uncovering adhesive only where the first contact will be made, allowing adjustments if needed.
-
Press the panel into place – apply pressure evenly from the center outward to remove air pockets and achieve full adhesion.
-
Continue peeling the film gradually – working along the panel until it is firmly attached.
-
Final pressure – use a roller or a clean cloth to activate the adhesive fully.
Pros and cons
Advantages:
-
Extremely fast and tidy installation – no additional tools or adhesives are necessary.
-
The pre-applied adhesive layer ensures consistent bonding across the surface.
Disadvantages:
-
Requires excellent wall preparation – any unevenness or dirt can compromise adhesion strength.
How to choose the right method
The best wall panel installation approach depends on several factors: the condition of the surface, the desired finish, how the space will be used, as well as the available budget and timeframe.
When speed and simplicity are priorities
If the walls are even and you want a quick outcome without complex preparation, direct gluing or self-adhesive panels are good options. The first allows flexibility in selecting adhesives suited to the room’s environment, while the second is unmatched in terms of installation speed.
When long-term durability is needed
For panels expected to last for many years, particularly on uneven walls or when heavy materials (such as wood or upholstered panels) are involved, mounting on a wooden board or plywood is the most reliable method. It provides a stable base, ensures proper alignment, and allows for added insulation, though it does take up a few centimeters of room space.
When future changes are expected
If you might want to redesign the interior later, it’s best to choose a method that allows panels to be removed with minimal damage – in this case, mounting on a base board is more suitable, as individual elements can be detached or unscrewed without harming the wall.
Summary:
-
Direct gluing – fast and clean, but requires perfectly smooth walls.
-
Base board – strong, level, and versatile, though more labor-intensive and space-consuming.
-
Self-adhesive panels – the quickest installation, provided the surface is well-prepared.
Summary
Selecting the correct wall panel installation method is crucial, as it impacts both the appearance and durability of the project. Whether your aim is a quick transformation or a solid, lasting installation – the decision should be based on the wall condition, room type, and panel material.
Direct gluing is best for smooth walls when a clean finish is needed quickly without added structures. Mounting on a wooden board or plywood suits those who want a durable setup, even wall leveling, and the use of heavy panels. Self-adhesive panels deliver the fastest results but depend on meticulous surface preparation.
Ultimately, the best approach is the one that combines the desired visual outcome with practical functionality, ensuring that panels both look appealing and remain reliable for years.
FAQ
1. Can panels be installed on uneven walls?
In this scenario, mounting panels on a wooden board or plywood is recommended, as it levels the surface and provides strong support. Direct gluing or self-adhesive options need an almost perfectly smooth base.
2. Is gluing panels to the wall reliable?
Yes – it forms a very durable bond if the right adhesive is selected for both the material and the room’s conditions. Still, removing the panels typically damages both the panel and part of the plaster.
3. What tools are necessary for panel installation?
For gluing, basic tools like a level, measuring tape, utility knife or saw, and adhesive gun are sufficient. For installation on a base board, you will also need a screwdriver, wall plugs, and screws.


